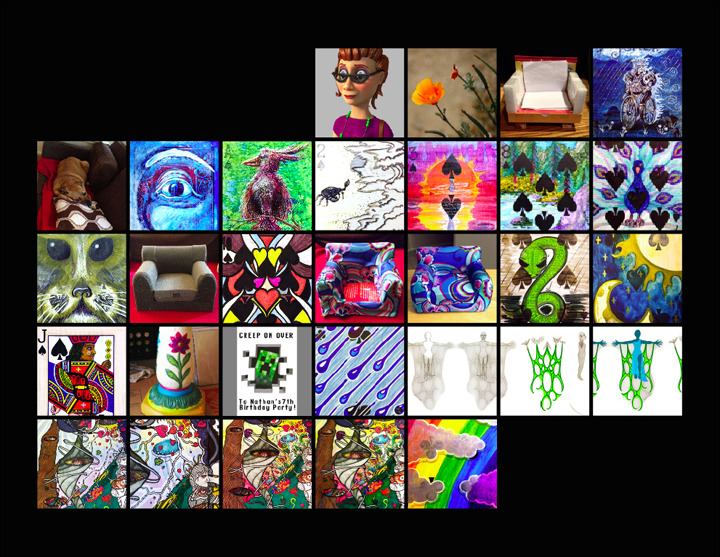

April 1st:

Today I set up and rendered a few beauty shots of my model. Then I realized that I should probably pose my model before getting too crazy with the beauty shots...
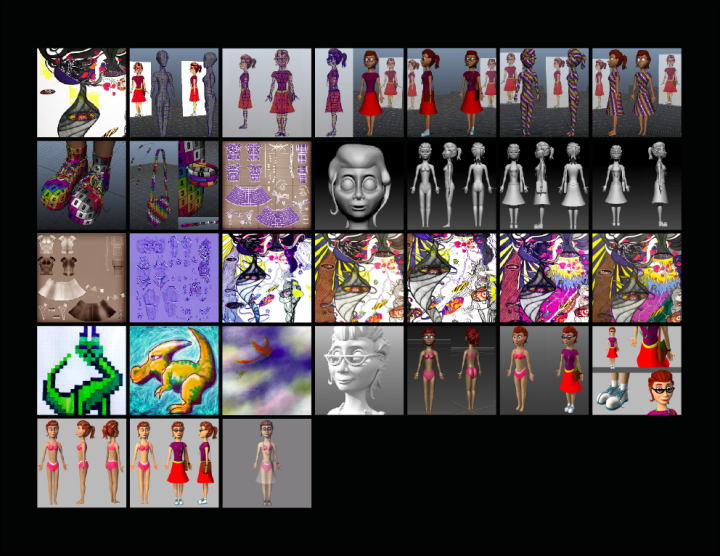
March 31st:
I spent some time today video editing my girl's turntables in After Effects for my demo reel.
March 30th:
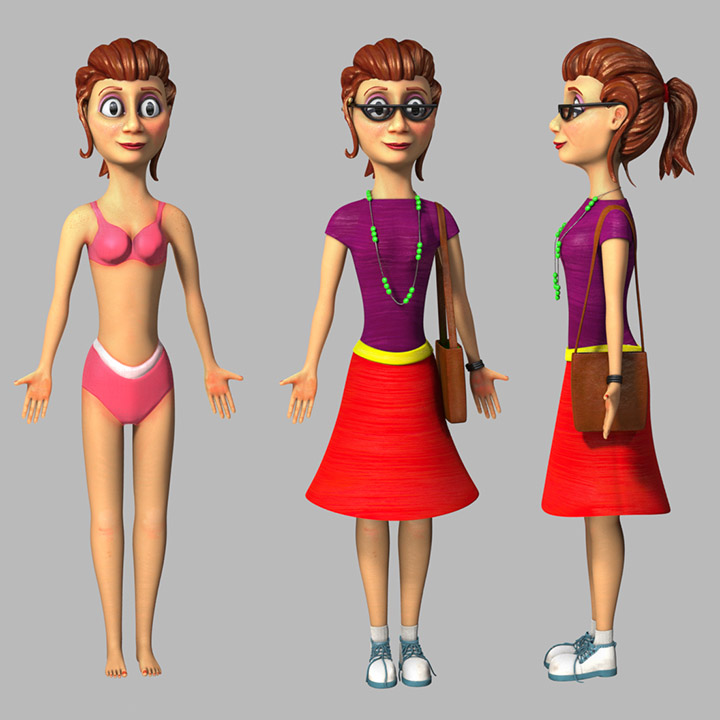
I made the extra maps, masks, and materials needed for my girl's clothing and accessories. Then I fixed her skin material so that it appeared less rubbery. I'm quite pleased with the final outcome.
On to rendering!
March 29th:

Today I spent a lot of time working in both Photoshop and Modo. I painted material masks and tweaked texture maps to create new maps (like specular amount maps) in Photoshop, then tested the effects of those maps in Modo while I refined the materials applied to my girl's body.
March 28th:
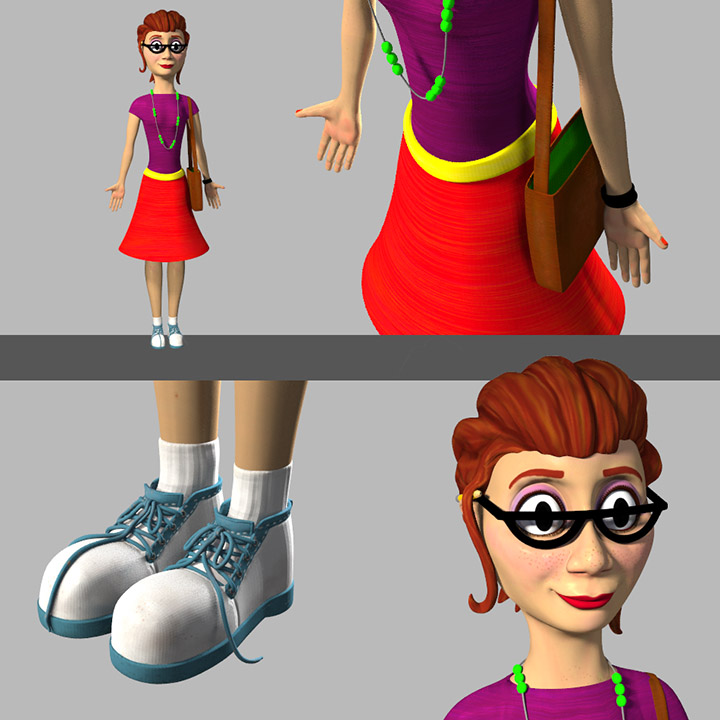
One more step down. Mudbox texture-painting: DONE.
March 27th:
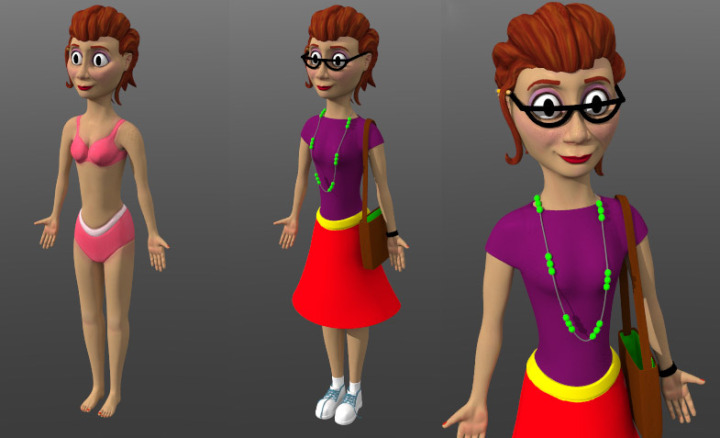
My girl's body color texture map is done and I painted preliminary colors on her clothing and accessories.
March 26th:
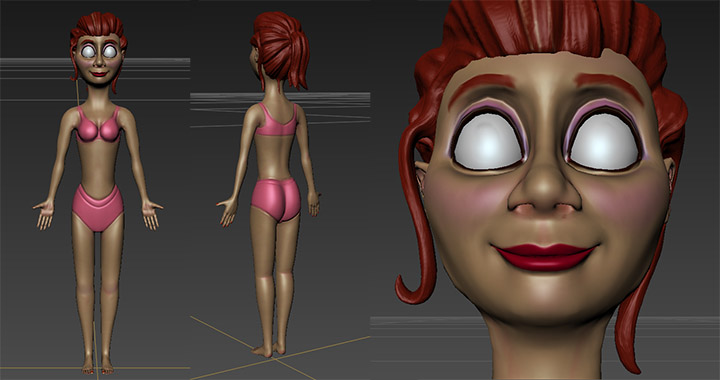
I started texture-painting in Mudbox today.
March 25th:
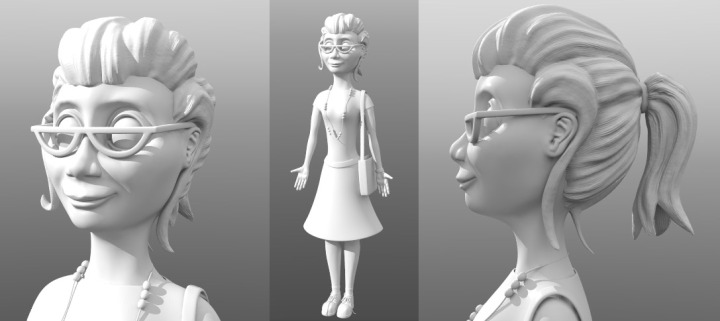
Back home: back to modeling. Spent my art time today testing and fixing abnormalities in all of those normal and displacement maps that I baked before I left.
March 16th:
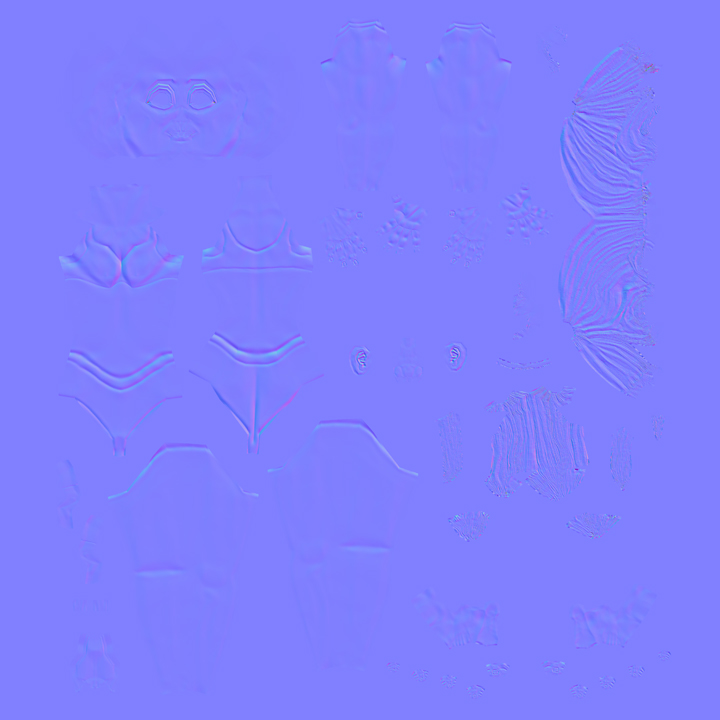
I'd never baked normal maps out of ZBrush until this model: I've always baked them out of Maya because I heard that they came out so much better. I decided to try it this time because it seemed like it would save a lot of time. What I didn't account for was the learning curve of finding the right settings in ZBrush, so I ended up spending twice as long as I should have because I spent a long time fiddling with settings in ZBrush and actually ended up baking one set of maps from Maya in addition to those that I baked in ZBrush.
March 15th:

I baked displacement maps and normal maps out of ZBrush.
March 14th:
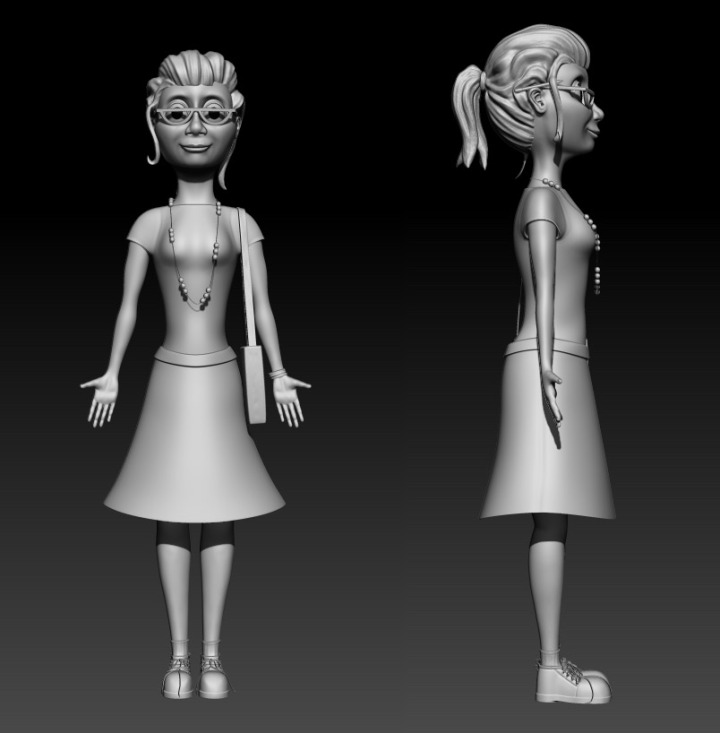
A bit of tweaking.
March 13th:
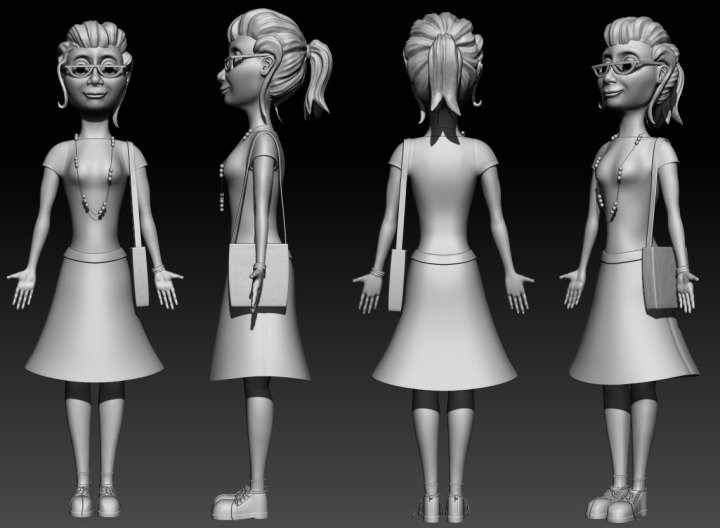
This was one of those days when nothing worked out as planned, but I managed satisfactory results in the end.
March 12th:
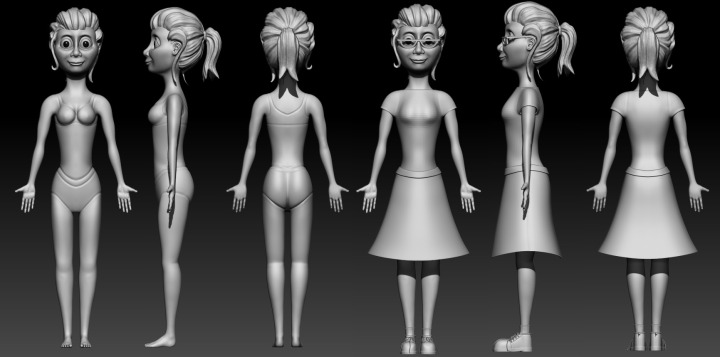
Much sculpting progress today.
March 11th:

A lot of importing and exporting and a little sculpting today.
March 10th:
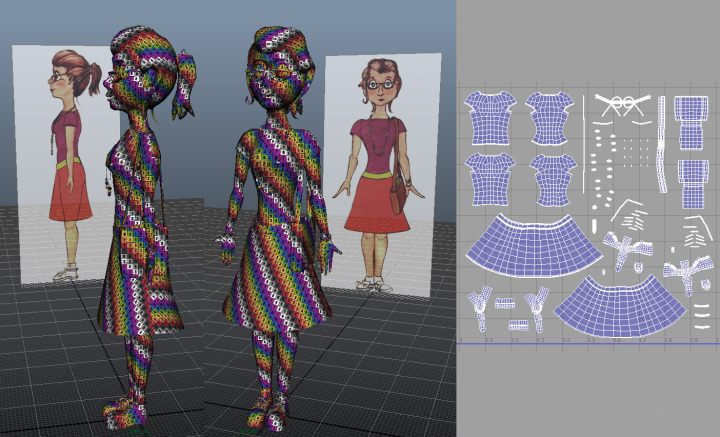
I laid out and organized my girl's UVs into 2 separate maps: one for her body and hair and one for her clothes and accessories.
March 9th:
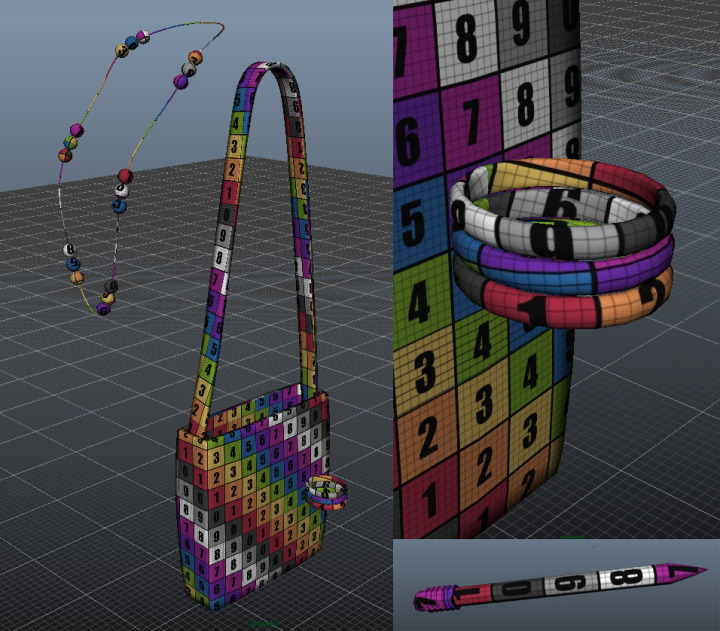
My girl's accessories are now all UVed.
March 8th:
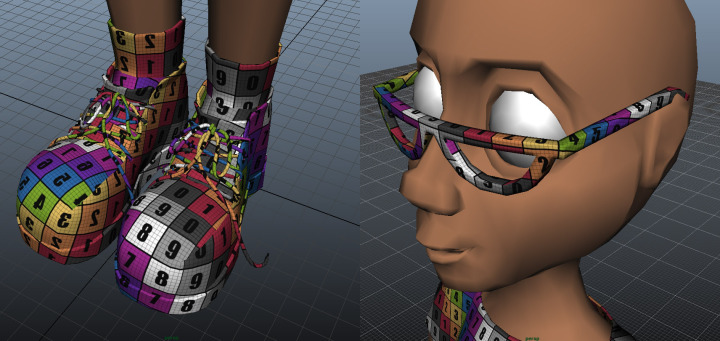
These UVs were painful. The shoelace UVs refused to unfold.
I tried everything I could think of. I cut them into large pieces, then I cut them into tiny pieces, then I selected whole edges of UVs and lined them up by hand. Every time I hit "unfold" they snarled themselves into oblivion: each of the edges of each single section zigzagged up and down like crazy, turning areas that I knew should line up fairly evenly horizontally into sharp, erratic waves. When I straightened these waves by hand and then hit "unfold" to even out the spacing of the polygons, they would inevitably turn into waves again, but tamer waves than they had been before. The more I lined them up manually the more manageable they became whenever I unfolded them, and I finally got them to generally resemble what I knew they should look like. It took hours, though. Hours: spent on shoelaces!
It was one of the most frustrating sessions I've ever spent UVing (and that's counting the time that I was first learning to UV and had no clue tools like "unfold" existed: I used to auto-UV everything and then spend a whole lot of time stitching). It was all the more frustrating because it would have been so easy to say: "They're shoelaces. Forget the UVs. I can slap a procedural texture or two on them and they'll be fine." But I knew that I was going to take the whole model into Mudbox to texture paint it, and as long as I was texture-painting the rest of it I might as well include the shoelaces. I just wanted them done the way that I intended them to be done, so I kept at it, despite the frustration. And I won in the end. The shoelaces were successfully Uved and texture painted with color and grime.
Amber: 1 Shoelaces: 0
March 7th:
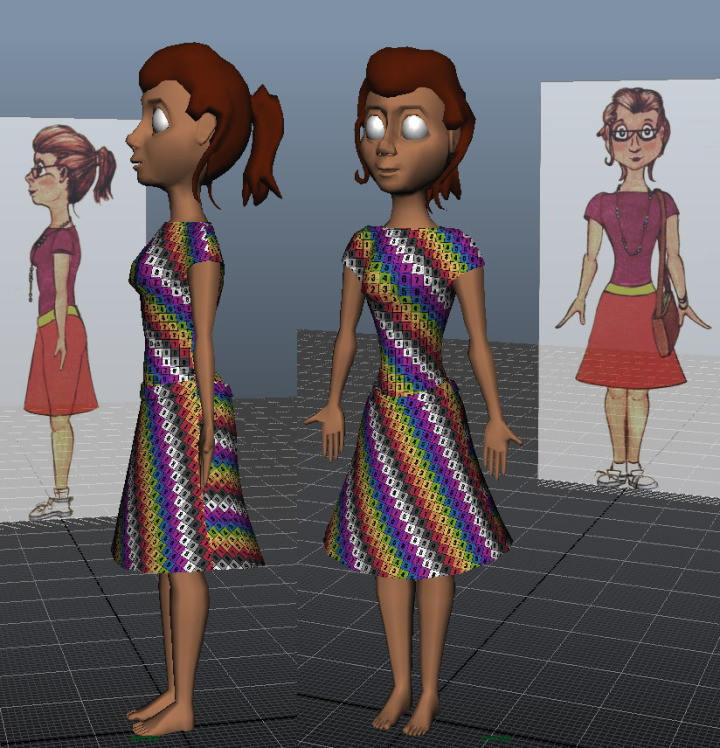
Not much art time today. Just a wee bit of UVing. Doesn't she look cute in her colorful checkerboard dress, though?