Directed Study - Session 7
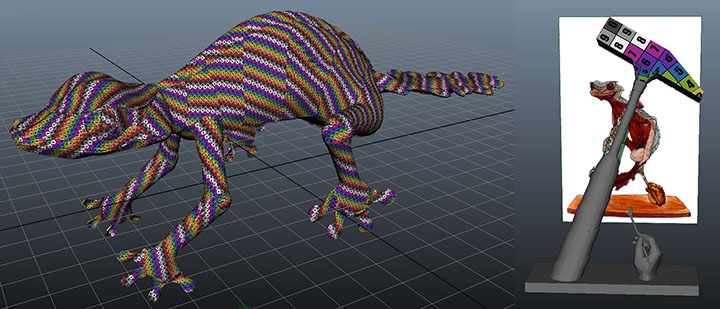
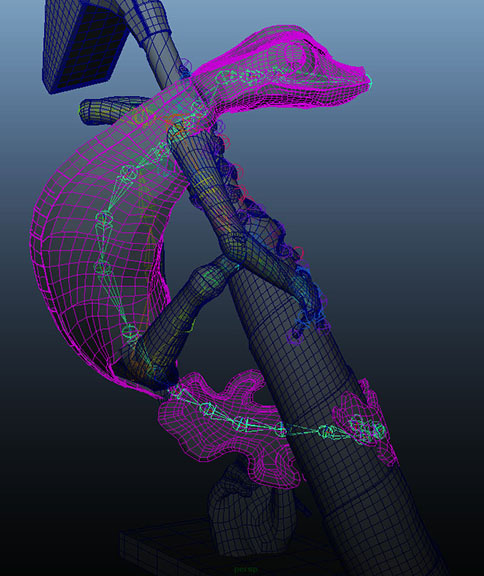
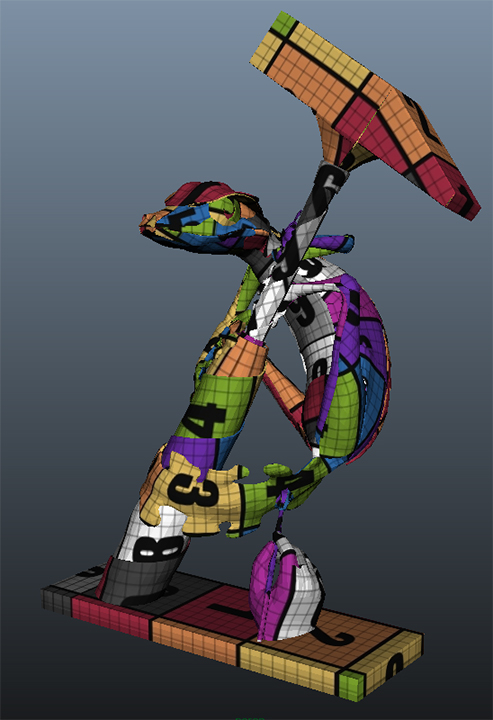
I finished posing my Gecko. The following screen shots are actually from just before I finished the posing fully. The grey pieces of the ridge down the Gecko's back and the "bristles" of the paintbrush are still not fixed in these images, but they were fixed within an hour or two of the file from which I took these screen shots being saved. The colors were basically a system of organization that I was using to denote my posing progress. The code was really quite simple: if the panel was colored, it had been properly posed. If it wasn't colored, it either needed no adjustment or was still waiting to be adjusted.
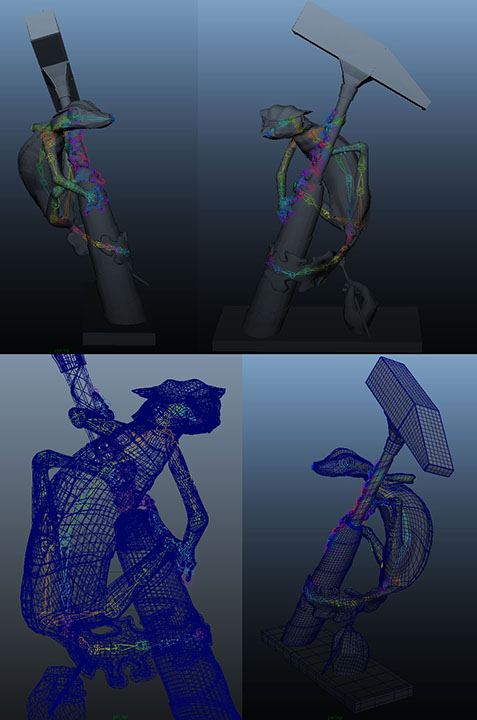
The ridge and the bristles were fixed by the time that I made this turntable as a placeholder image in my demo reel for one of the classes that I'm currently taking:
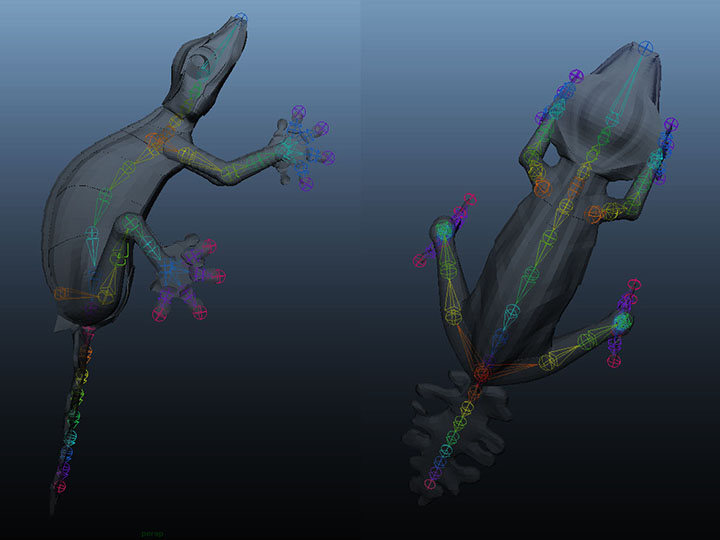
As I explained in my previous blog post, I posed the Gecko with a series of smooth-bound rigs in Maya, but I fixed any areas where the resultant geometry panels were penetrating each other using the move brush in ZBrush. It was the latter step that I completed this week.
Directed Study - Session 8
I lost all of my Gecko's UVs.
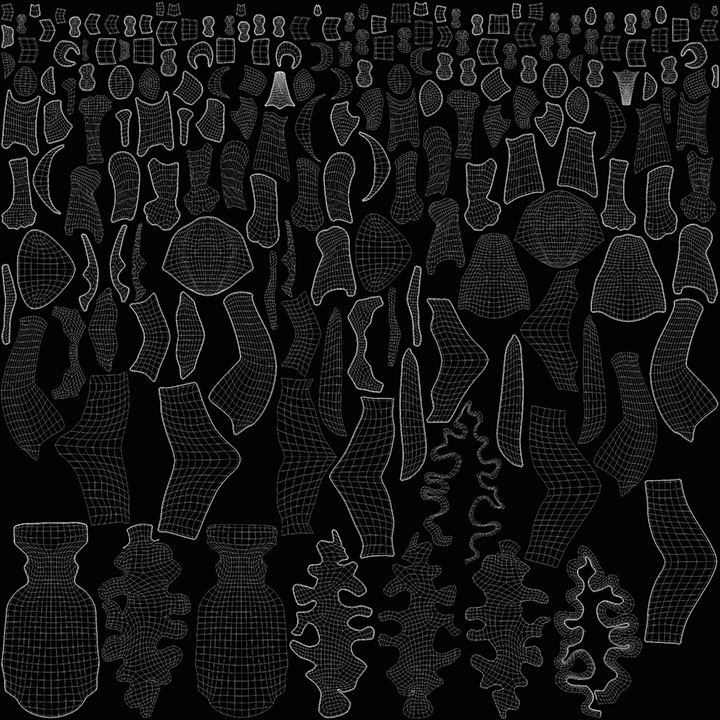
Luckily, this wasn't as big of a disaster as it sounds: I was able to recover them. It was a tedious, time consuming process to do so, but not nearly as time consuming as having to re-UV everything. The Gecko and his base together have 115 pieces. It would have taken me a couple of days worth of work to build all of those UVs over again. Instead, it only took a couple of hours to transfer the UVs piece by piece from the last version of the Gecko that was not-quite-fully-posed in Maya to the fully posed OBJs that I pulled out of ZBRush.
I learned something new about ZBrush this week: It deletes your UVs when you merge and split subtools. I was not aware of this. I've combined and separated meshes without any ill effects in Maya so often that I never even suspected it could be a problem in ZBrush. Apparently, it's a big problem - assuming, of course, that you care about UVs.
I do care. I care very much.
As I stated, however, I was at least able to recover them thanks to a script that my roommate has for Maya. I will be obtaining this script from her for future use very shortly. In the meantime, she let me use her computer to transfer all of the UVs back onto my posed Gecko. Then I had to go through all of the UVs and unfold them to account for any stretching that the pieces endured during the posing process. This is the step that I had been intending to complete when I first discovered that the UVs were missing: it wasn't an extra step to go through because they were lost. I was actually surprised by how long this step took. Relaxing and unfolding UVs sounds so easy, but I guess doing anything 230 times (115 objects x2 UV shells each) won't be the quickest of propositions. I also spent a good chunk of time arranging the UV shells in the UV space so that when I eventually get around to texturing the Gecko (which is not part of my thesis, but is still something that I hope to do eventually) I will easily be able to tell from the UV snapshot which pieces are which:


I then spent some time exporting the UVed pieces of the Gecko and base in very small groups as OBJs so that I can have multiple subtools in ZBrush without threatening my UVs. I can work on even overlapping panels on the same subtool individually using polygroups, but I still don't want too many panels on the same subtool, so I had to create quite a large number of OBJs.
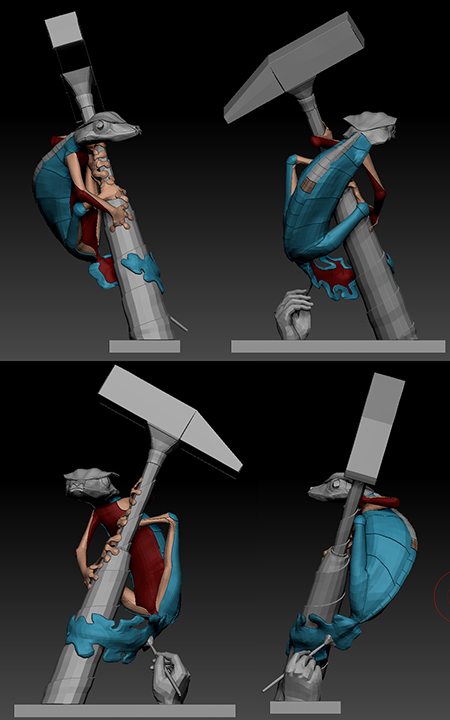
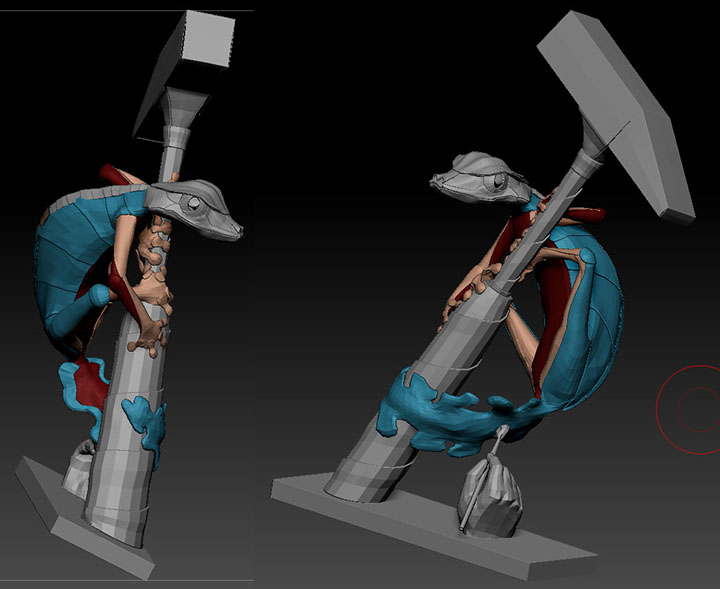
Basically, most of the work that I got done this week was tedious and time consuming technical tasks that I don't have a whole lot of visual progress to show for, but which needed to be done, regardless.
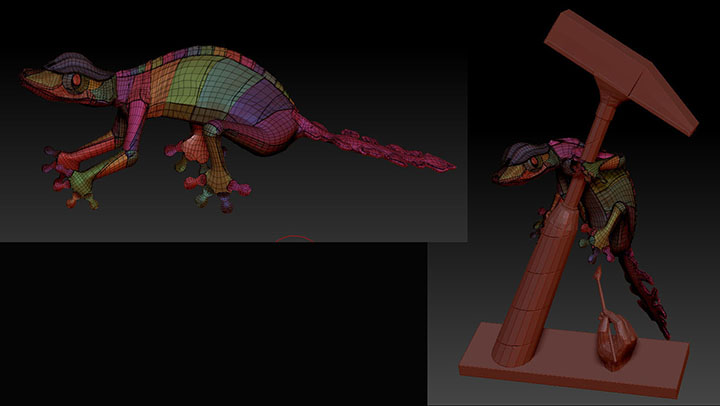
I did begin sculpting finally, but just barely. Can you see it in the image below?

I didn't think so.
How about now?
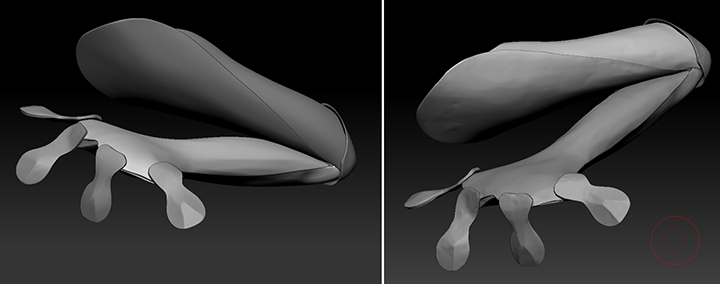
These are two of the three sculpting techniques that I tried. The left one was completed using only the hPolish brush in ZBrush. The right one was completed with a combination of hPolish and Blob set to scatter. I like the right one. The left image is the progress that I showed in my GDS class. Then my GDS instructor mentioned how the hammer used in shaping sheet metal would create dings and rough up the surface of the metal significantly. He suggested trying to rough the surface up in Maya by selecting random pixels to move to break up the smooth surfaces. He suggested that it might be faster than ZBrush sculpting and the eventual normal map creation to show off the ZBrush sculpting in another rendering program and all of that. He may be right, but I really wasn't happy at all with my experiment with the method that he suggested. So I settled on ZBrush. His suggestions did make me realize, however, that even with the polishing the ZBrush version was a little too perfect still. It needed to be a little more banged up. That's when I brought in the Blob brush. It creates some nice random dings in the surface. I polish some of them back down, and others I leave as they are. I don't spend too much time on any one section: it's supposed to be random and imperfect. I think that this method of working is serving me well, and will give me the look that I want for the piece overall. Now I just need to roll with it and get to work.